Regular maintenance is critical for any air conditioning (A/C) machine to run effectively, and one crucial part of this protection is the artificiality of the A/C belt. The 49.2.5 Outside A/C Belt Replacement is a commonplace technique that ensures your device operates without issues, prevents breakdowns, and extends the unit’s lifespan. In this guide, we’ll stroll you via the stairs to replace the outdoor A/C belt, supply a cause behind why it is critical, and offer recommendations for ongoing care.
Why Is the A/C Belt Important?
The A/C belt, from time to time known as the fan or electricity belt, is answerable for powering the fan and compressor for your aircon device. When this belt wears out or breaks, your A/C unit cannot effectively cool your area. A broken belt can also bring about overheating, which may additionally furthermore damage special vital components of the device. Regularly converting the belt prevents such issues, ensuring easy operation and the most efficient overall performance.
Tools and Materials Needed
Before beginning the belt replacement gadget, collect the essential tools and materials:
– New A/C belt (unique on your unit version, classified 49.2.5)
– Screwdrivers (flathead and Phillips)
– Wrench set
– Pliers
– Socket set
– Belt tension gauge (non-obligatory but endorsed)
– Gloves and safety goggles
– Owner’s guide to your A/C unit
Once you have been given the equipment, you’re prepared to start the unreal technique.
Step-by-Step Guide to Replacing the Outside A/C Belt
Step 1: Power Off the A/C Unit
Safety is a pinnacle of precedence, so the first step is to expose your A/C tool. Disconnect the energy on the breaker panel to avoid any electric powered risks at some stage in the manner. Ensure that no strength is on foot to the unit in advance than intended.
Step 2: Access the A/C Unit
Locate the outdoor condenser unit in which the belt is housed. The belt is typically enclosed, so that you’ll need to dispose of the outer panel to get admission to it. Using a screwdriver, take away the screws securing the panel in vicinity. Set the screws apart in a stable place so that you can, without trouble, reattach the panel later.
Step 3: Locate the A/C Belt
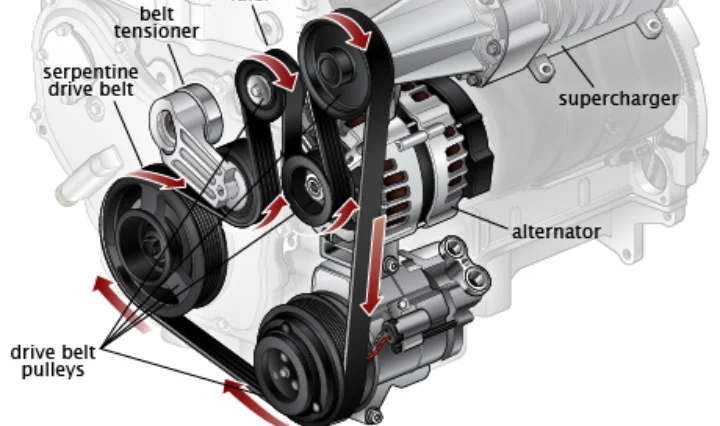
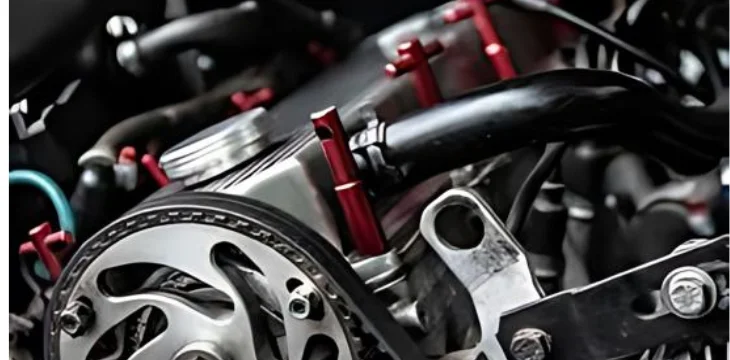
Once you have got the panel off, you’ll see the belt positioned at some point of the motor pulley and the compressor pulley. The belt drives the fan and compressor, making it a vital element for the system’s functionality.
Step 4: Inspect the Current Belt
Before casting off the antique belt, examine it for signs of harm. Cracks, fraying, or visible stretching are easy signs the belt wishes to substitute. Even if the belt should no longer show severe wear, replacing it at normal periods (every 2 to 3 years) is recommended to hold efficiency.
Step 5: Remove the Old Belt
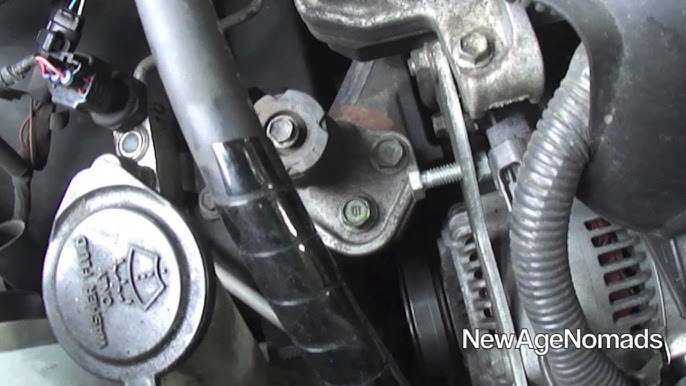
Using a wrench, carefully loosen the bolts that maintain the tensioner pulley in location. This pulley enables the proper tension at the belt. Once you’ve loosened the bolts, slide the pulley to relieve anxiety on the belt, and then gently get rid of the vintage belt from the pulleys. Take check of the routing so that you can install the new belt in the equal manner.
Step 6: Compare the Old and New Belt
It’s vital to make sure the brand new belt (49.2.5) fits the size and form of the antique belt. Lay them facet with the aid of aspect to evaluate the period, width, and fashionable shape. Using the right belt length is crucial for excellent basic overall performance and durability.
Step 7: Install the New Belt
Position the current-day belt around the motor and compressor pulley, following the identical course due to the antique belt. Ensure it sits snugly in the grooves of the pulleys. Once in the area, alter the tensioner pulley to repair anxiety to the belt. Proper tension is important; the belt needs to be tight sufficient to avoid slipping but not so tight that it motivates undue stress at the pulleys or motor.
If you have been given a belt anxiety gauge, use it to check the anxiety, as this can help ensure the belt is well-adjusted. Refer in your A/C unit’s proprietor’s guide for the endorsed tension specs.
Step 8: Reassemble the A/C Unit
With today’s belt set up and well tensioned, you may reattach the panel to the condenser unit. Carefully line up the panel with the mounting holes, and strengthen it with the screws you removed in advance. Double-check that the panel is securely constant to save you any debris from coming into the unit.
Step 9: Test the A/C System
Now that the belt has been changed and the unit is reassembled, it’s time to test the gadget. Restore energy to the A/C unit thru manner of switching at the breaker. Turn at the gadget and listen for any uncommon sounds, which includes squealing or grinding, which also can moreover recommend trouble with the belt anxiety. Observe the unit for a couple of minutes to ensure the fan and compressor are going for walks efficiently.
Signs That Your A/C Belt Needs Replacement
While regular belt replacement is critical, there are symptoms to take a look at for which could mean it’s time to replace the belt in advance than scheduled:
1- Squealing or chirping sounds:
These noises regularly rise up whilst the belt is slipping due to positioned on or unsuitable anxiety.
2- Reduced airflow:
If your A/C unit isn’t cooling as effectively because it used to, a worn belt may be the perpetrator.
3- Visible wear:
Fraying, cracks, or stretching are smooth signs and symptoms the belt wants to be replaced.
4- Unit overheating:
An overheated unit may additionally furthermore imply a broken or malfunctioning belt.
Tips for Maintaining Your A/C System
To maintain your air con gadget strolling smoothly, observe those additional preservation recommendations:
1- Regularly look into the belt:
Even if your belt doesn’t seem worn, take a look at it periodically for early signs and signs and symptoms of damage. Replace it earlier than it breaks to save you downtime.
2- Clean the condenser unit:
Dust and particles can accumulate on the condenser coils, reducing the device’s overall performance. Clean the coils and the region throughout the outside unit frequently.
3- Lubricate transferring elements:
Some A/C gadgets have components that require regular lubrication. Consult your proprietor’s manual to determine which additives, if any, want lubrication.
4- Schedule expert inspections:
Even if you perform DIY maintenance, it’s an extremely good idea to have your A/C machine inspected by an expert as a minimum as soon as a year. This guarantees all components are functioning efficiently and prevents foremost troubles.
Conclusion
Replacing the A/C belt, mainly the 49.2.5 outdoor A/C belt, is an honest but vital project that ensures your device keeps to characteristic without issue. By following the step-by-step manual provided above, you could complete this project with self-belief, saving time and, in all likelihood, avoiding steeply-priced maintenance. Regular belt maintenance, combined with extraordinary normal tests, will help keep your A/C tool taking walks efficiently, imparting consolation within the route of the pleasant and comfy months for years yet to come.