In today’s data-driven world, mapping and geospatial tools have become essential for industries ranging from urban planning to environmental research. JR Geo is one such powerful platform that helps professionals and beginners alike visualize, analyze, and interpret location-based data effectively. Whether you’re a student exploring Geographic Information Systems (GIS) for the first time or a business professional looking to integrate spatial data into your projects, this guide will walk you through everything you need to know to get started with JR Geo.
What Is JR Geo?
JR Geo is a geospatial mapping and data visualization tool designed to make Geographic Information System (GIS) concepts accessible to everyone. It offers an intuitive interface, a variety of mapping options, and tools to import, analyze, and present location-based data. Users can create detailed maps, overlay different datasets, and extract valuable insights from geographical information.
Some of the key uses of JR Geo include:
- Mapping land use and environmental features
- Planning infrastructure and transportation routes
- Conducting research in urban development
- Analyzing population and demographic trends
- Creating visual reports for stakeholders
Why Choose JR Geo?
Before diving into the step-by-step tutorial, it’s worth understanding why JR Geo stands out among other GIS tools.
- User-Friendly Interface—Designed with beginners in mind, JR Geo minimizes the learning curve.
- Data Compatibility—Supports various file formats such as CSV, SHP, KML, and GeoJSON.
- Customizable Visuals—Allows you to change map styles, colors, and labels to fit your project needs.
- Cloud and Offline Use—Depending on your plan, you can work both online and offline.
- Affordable Pricing—Offers free and premium tiers suitable for different budgets.
Getting Started with JR Geo
Let’s walk through the process of setting up JR Geo and creating your first map.
Step 1: Create Your JR Geo Account
- Visit the JR Geo official website.
- Click on Sign Up and choose whether to create a free account or subscribe to a premium plan.
- Provide your name, email, and password.
- Confirm your email through the verification link sent to your inbox.
Tip: If you’re a student or researcher, check for educational discounts.
Step 2: Understanding the JR Geo Dashboard
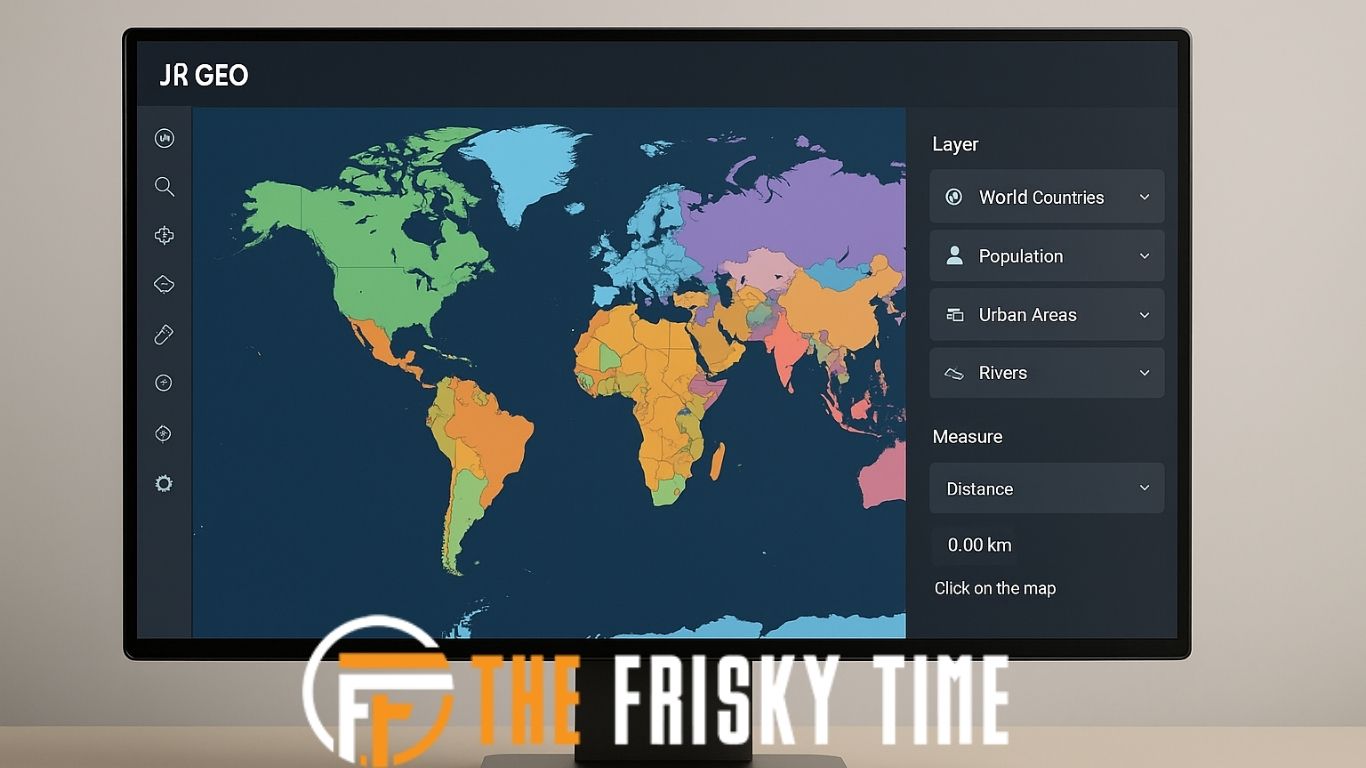
Once you log in, you’ll be greeted by the JR Geo dashboard. Here’s what you’ll see:
- Map Canvas—The main working area where your maps will be displayed.
- Toolbar—Contains icons for adding layers, shapes, labels, and measurement tools.
- Layer Panel—Shows the datasets you’ve added, allowing you to toggle them on and off.
- Search Bar—Quickly locate specific places or coordinates.
Spend a few minutes familiarizing yourself with these features before starting your first project.
Step 3: Adding Your First Data Layer
To create a map, you’ll need to add at least one data layer.
- Click on Add Layer in the toolbar.
- Choose from Upload Data or Import from URL.
- Supported formats include CSV (spreadsheets), KML/KMZ (Google Earth files), SHP (Shapefiles), and GeoJSON.
- Once uploaded, JR Geo will automatically plot the data points on your map.
Example: If you have a CSV file with city names and coordinates, JR Geo will place markers for each city.
Step 4: Customizing Your Map
A map is only as good as its clarity. JR Geo offers several customization options:
- Change Marker Icons and Colors—Make your points stand out.
- Adjust Map Style—Choose from satellite view, street maps, terrain maps, and dark themes.
- Add Labels—Display place names, population figures, or other attributes.
- Draw Shapes—Highlight specific regions using polygons or circles.
These features help make your map visually engaging and easy to understand.
Step 5: Analyzing Data in JR Geo
One of the strengths of JR Geo is its ability to analyze spatial data.
- Measure Distances – Use the ruler tool to find the distance between two points.
- Calculate Areas—Perfect for land-use studies.
- Filter Data—Show only the locations that match certain criteria, such as population above 100,000.
- Overlay Multiple Layers—Combine datasets like weather data with population maps to find correlations.
Step 6: Exporting and Sharing Your Map
When your map is ready, you can export it for presentations or reports:
- Export Formats—JPG, PNG, PDF, or interactive HTML.
- Share Link – Generate a shareable URL for clients or colleagues.
- Embed Code—Integrate your map into a website or blog.
Pro Tip: Always double-check your data labels and legends before exporting for a professional look.
JR Geo Best Practices for Beginners
To get the most out of JR Geo, keep these tips in mind:
- Use Clean Data—Ensure there are no missing coordinates or formatting errors in your files.
- Name Your Layers Clearly—helps you stay organized in complex projects.
- Save Frequently—JR Geo autosaves in some modes, but it’s best to save manually.
- Experiment with Styles—Try different map themes to find what works best for your audience.
Common Mistakes to Avoid in JR Geo
- Overcrowding the Map—Too many layers or markers can make the map unreadable.
- Ignoring Legends—Without a clear legend, viewers won’t understand your map’s symbols.
- Forgetting Scale and Orientation—Always include a scale bar and north arrow for context.
- Not Checking Coordinates—Incorrect coordinate formats can plot points in the wrong location.
JR Geo Alternatives
While JR Geo is powerful, you might also explore:
- QGIS—A free, open-source GIS platform for advanced users.
- ArcGIS Online—Industry-standard software for professional mapping.
- Google Earth Pro—Great for quick, visual exploration of locations.
Each tool has its pros and cons, but JR Geo strikes a balance between usability and functionality, making it ideal for beginners.
Conclusion
Learning how to use JR Geo can open up a world of possibilities in mapping, research, and data analysis. Its intuitive design, wide format support, and analytical tools make it a great entry point into GIS. By following the step-by-step guide in this tutorial, you’ll be able to create, customize, and share professional-quality maps even if you’ve never worked with geospatial tools before.
Whether you’re mapping environmental changes, planning new infrastructure, or simply exploring geography, JR Geo equips you with the tools you need to turn data into insight.